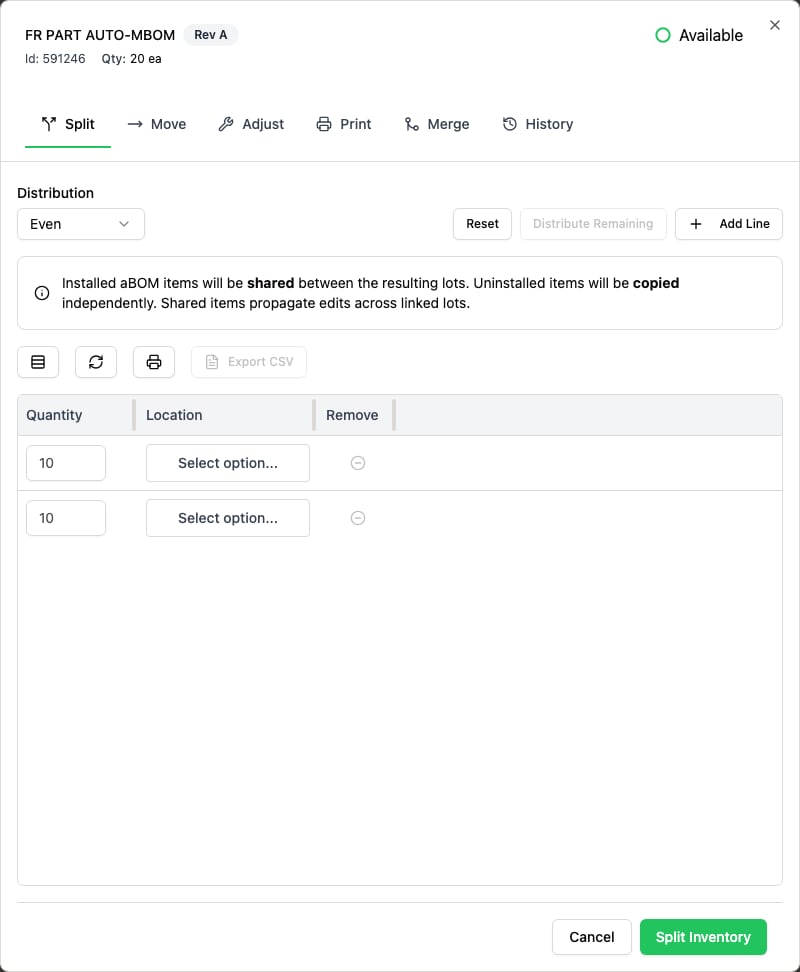
The Part Inventory Actions dialog. Each tab is a different action on the record.
Add inventory
Add stock that didn’t come through receiving, such as an opening balance or a manual correction.- On the Inventory page, click Add Inventory.
- In Create New Inventory Item, set the Part Number and Quantity.
- Set the Location. For a lot-tracked part, enter a Lot Number; for a serial-tracked part, enter a Serial Number.
- If your org uses intent options, set the intent. Depending on your settings, intent can be required.
- Click Create Item.
Move inventory
- On the Inventory page, open a record and select Move.
- Search for and select the destination location.
- Confirm the move. The record’s location updates, and the move is recorded in its history.
Change a record’s part
Repoint a record at a different part when the stock on the shelf was recorded against the wrong one.- On the Inventory page, open a record and select Change.
- In Changing to this part, select the new part.
- Confirm the change.
A record’s part can be changed only while it is Available and untouched. ION blocks the change
and names the reason when the record is installed on a build requirement, issued to a kit, partly
scrapped, allocated to an open run, or at any other status. Repointing consumed stock would rewrite
what its build, kit, run, order, and scrap records mean.
Adjust a quantity
Use an adjustment to correct a record’s on-hand count.- On the Inventory page, open a record and select Adjust.
- Set the New Total Quantity. To scrap part of the record instead, set the Quantity to Scrap.
- Record a reason, then save. For scrapping stock as a workflow, see Scrap inventory.
Delete a record
Deleting a record removes all of its units from inventory. It doesn’t scrap them or record a transaction, so use it for a record created in error rather than for stock you’ve consumed or scrapped.- On the Inventory page, open a record and select Adjust.
- Click Delete All Inventory, then confirm.
Filter the Inventory page
Open Filters in the Inventory page toolbar to narrow the list. It’s the same filter builder the rest of ION’s tables use; for how to build and save a condition set, see Build a filter. The field picker also offers Issues fields, such as Issues > ID and Issues > Title, so you can narrow to the inventory an issue touches. To list only inventory that has an issue, filter on Issues > ID with Is null set to False. The same field set appears on the Tools inventory table, which shares the inventory filter definition.View transaction history
To see every transaction against a record, open it on the Inventory page and select History. The history lists each action, such as received, moved, split, merged, installed, and uninstalled, with its actor, timestamp, and location.Act on several records at once
Selecting records on the Inventory page reveals a toolbar of bulk actions:- Move sends the selected records to one location.
- Print Barcodes prints labels for the selected records. See Print labels.
- Generate SNs generates serial numbers for the selected records.