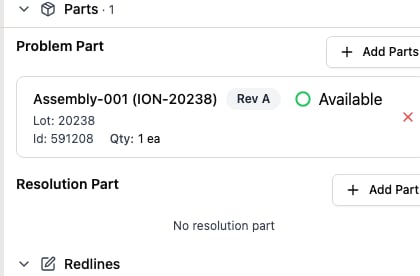
The Parts tab on an issue, with a Problem Part and a Resolution Part.
Add the affected inventory
- On the Issues page, open the issue.
- Open the Parts tab.
- Under Problem Part, click Add Parts and choose the affected part inventory.
- Repeat for each additional affected part.
Add the inventory a run step produced
When the issue is linked to the run step it was found on, you can add the inventory that step’s run produces without searching for it.- On the Issues page, open the issue.
- In the Issue found on step card, click the button that adds the run’s part as a Problem Part.
Set the resolution inventory
- On the issue’s Parts tab, under Resolution Part, click Add Part.
- Choose the part inventory used to resolve the issue.